A guide to preserving flowers in resin
Some flowers are just too beautiful to throw away — and that’s where preserving flowers in resin can come in handy. If you’ve been given an extra special bloom you want to keep looking as fresh as the day you received it, resin preservation is a secret weapon to capture beauty forever.
If you’re wondering how to preserve flowers in resin, this guide is for you. Let’s dive in and discover the preservation process and ways to incorporate the finished product in other crafts and decor.
Choose the Right Flowers
The first and most important step in preserving flowers in resin is choosing them carefully. When picking which blooms to preserve, we suggest considering the following factors:
Freshness
Opt for blooms at their peak freshness, avoiding those with wilting petals. Fresh flowers are essential for resin preservation because they capture the flower's vibrant colours and natural beauty at its peak. Additionally, fresh flowers are more pliable and easier to handle during the drying and embedding process, leading to better results.
Petal Thickness
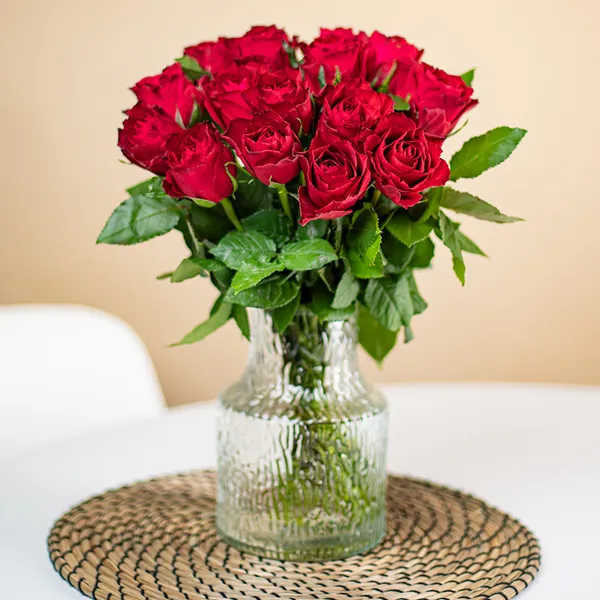
Flowers with thicker petals tend to be preserved better than those with delicate ones. This is because thicker petals are less likely to deteriorate during the drying process. Delicate petals can easily crumble or lose their shape when exposed to the drying agents or the resin itself. Flowers with thicker petals retain their form better, resulting in a more lifelike and visually appealing preserved piece. Roses and sunflowers are good choices due to their thick petals.
Colour Retention
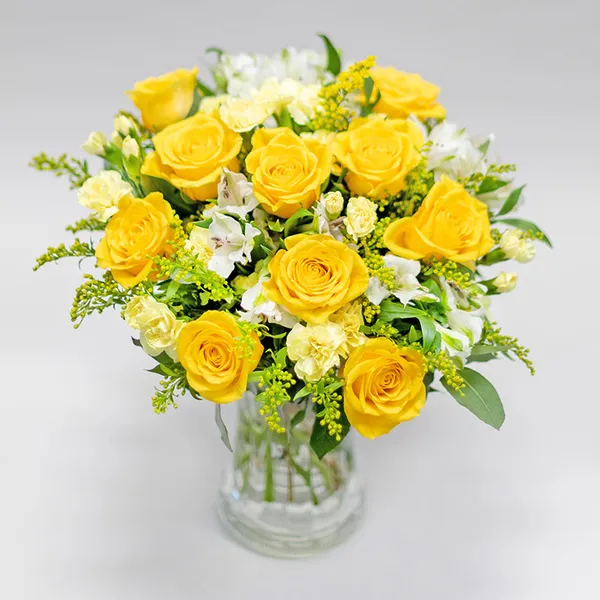
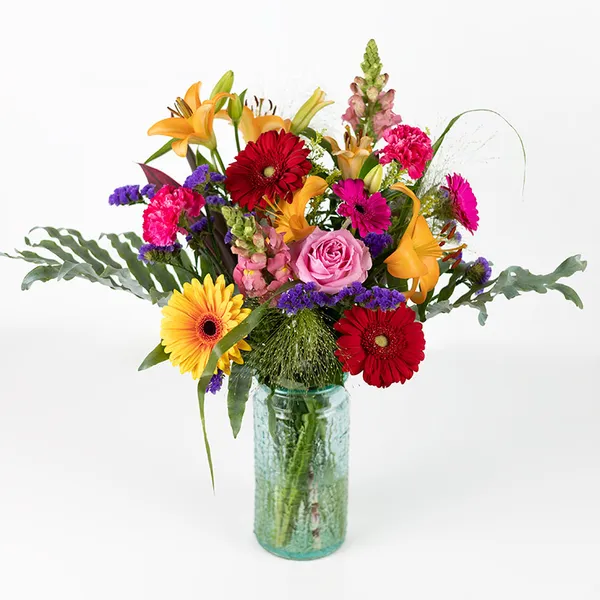
It’s worth considering how well your flower’s colour will hold up during the drying process. Some colours may fade, and the result might not do the initial beauty of the bloom justice as a result. Choosing flowers with colours that are known to be more stable will help ensure that the preserved piece retains its vibrancy. We recommend flowers with deep hues or yellow and orange colouring as they’re most likely to retain their original colour.

Preparing the Flowers: The Key Steps
Once you’ve picked the perfect petals, you can begin to prepare them for resin preservation. Here’s a brief rundown of the steps you’ll need to take to ensure your chosen flowers are fully prepared for the resin application:
1. Clean Them Thoroughly
To ensure your flowers look flawless once preserved, it’s always best to clean them before drying. Use a soft brush to gently remove any dirt or insects from the petals and leaves. Then, rinse with water and pat dry with a paper towel.
2. Dry Them Out
Properly drying your flowers is crucial for resin preservation to be successful. Moisture can cause issues with the resin curing process, leading to cloudy or bubbly results. Let’s take a quick look at the different ways you can dry your flowers.
- Air Drying: This method is great for drying delicate flowers, such as lilies or violets, but can take several weeks.
- Silica Gel Drying: This method is the fastest way to dry flowers, but requires an array of resources and as a result, can be expensive.
- Pressing: This method is great for flat flowers and can be done using heavy books you may already own (so no extra costs). However, this method can take several weeks.
3. Embellish Them
Once your flowers have been thoroughly dried you have a chance to unleash your creativity. Transform your blooms into truly unique pieces by adding personal touches such as vibrant paints, shimmering glitter, or crystal rhinestones. You could even incorporate miniature charms or delicate beads for a whimsical effect.
It’s worth remembering that if you're planning to attach any embellishments using adhesive, it's crucial to allow the adhesive to dry completely before proceeding to the next step in the resin preservation process. This will prevent any unwanted smudging or movement of the decorations within the resin.
Embedding Flowers
With your flowers picked, dried and clean, you can begin the resin preservation process and embed them into resin moulds. Let’s run through the key steps required to successfully embed your flowers and apply resin:
1. Prepare Your Mould
Proper mould preparation is crucial for a successful resin project. Start by cleaning it thoroughly using warm soapy water to remove any residue, dust, or fingerprints. Once clean, let the mould dry entirely as moisture can interfere with the curing process and cause bubbles. At this stage, you can also consider applying mould release to the surface, as this can make it easier to remove the cured resin from the mould.
2. Mix and Pour the Resin
Follow the resin manufacturer's instructions carefully to mix the resin and hardener. Avoid creating bubbles by stirring gently. Once mixed, carefully pour a thin layer of resin into the mould to create a base — the flowers will sit on top of this base.
3. Arrange Your Flowers
While the resin is still tacky, use tweezers to carefully position your dried flowers in the mould. Try to experiment with different arrangements and depths as the resin will hold the flowers beautifully in any position.
4. Add More Resin
Once you're satisfied with the flower placement, carefully pour more resin to completely cover the flowers. After you’ve filled the mould, you’ll have a better understanding of what your preserved flowers will look like. At this stage, you can also use a heat gun or torch to gently remove any air bubbles that may have formed.
5. Curing
With the mould filled and flowers perfectly placed, you’ll have to be patient and allow your resin to cure according to the manufacturer’s instructions. This typically takes 24-48 hours.

Make the Most Out of Your Resin Flowers
Resin-preserved flowers aren’t just ornaments — they offer endless possibilities for creative expression. Here are some ideas to inspire you:
- Jewellery: Consider incorporating preserved flowers into resin pendants and create unique necklaces, earrings, and rings.
- Wall Art: Create beautiful wall art by casting resin with flowers into flat moulds that can be hung up easily.
- Table Decor: Use resin-preserved flowers to create elegant centrepieces or decorative bowls.
- Wedding Favours: Give a gift your loved ones will never forget and offer your wedding guests memorable wedding favours featuring preserved flowers.
- Phone Cases: Find a phone case mould to preserve your flowers in and be reminded of the special memory attached to them every time you pick up your phone.
- Keychains: Add a personal touch to your keys with a resin keychain featuring preserved flowers.
Find the Perfect Bloom
Preserving the beauty of flowers in resin is a captivating art form that allows you to cherish your favourite blooms forever. By carefully selecting, preparing, and embedding your flowers, you can create personalised pieces that will be admired for years to come.
To start your resin journey, you'll need the perfect flowers. Euroflorist offers a stunning collection of fresh blooms that are not only ideal for gifting but also perfect candidates for resin preservation. With a wide variety of flowers, we can be your go-to destination for sourcing the finest floral inspiration for your resin projects.